I learned the hard way that a brilliant black bun can turn sad grey overnight.
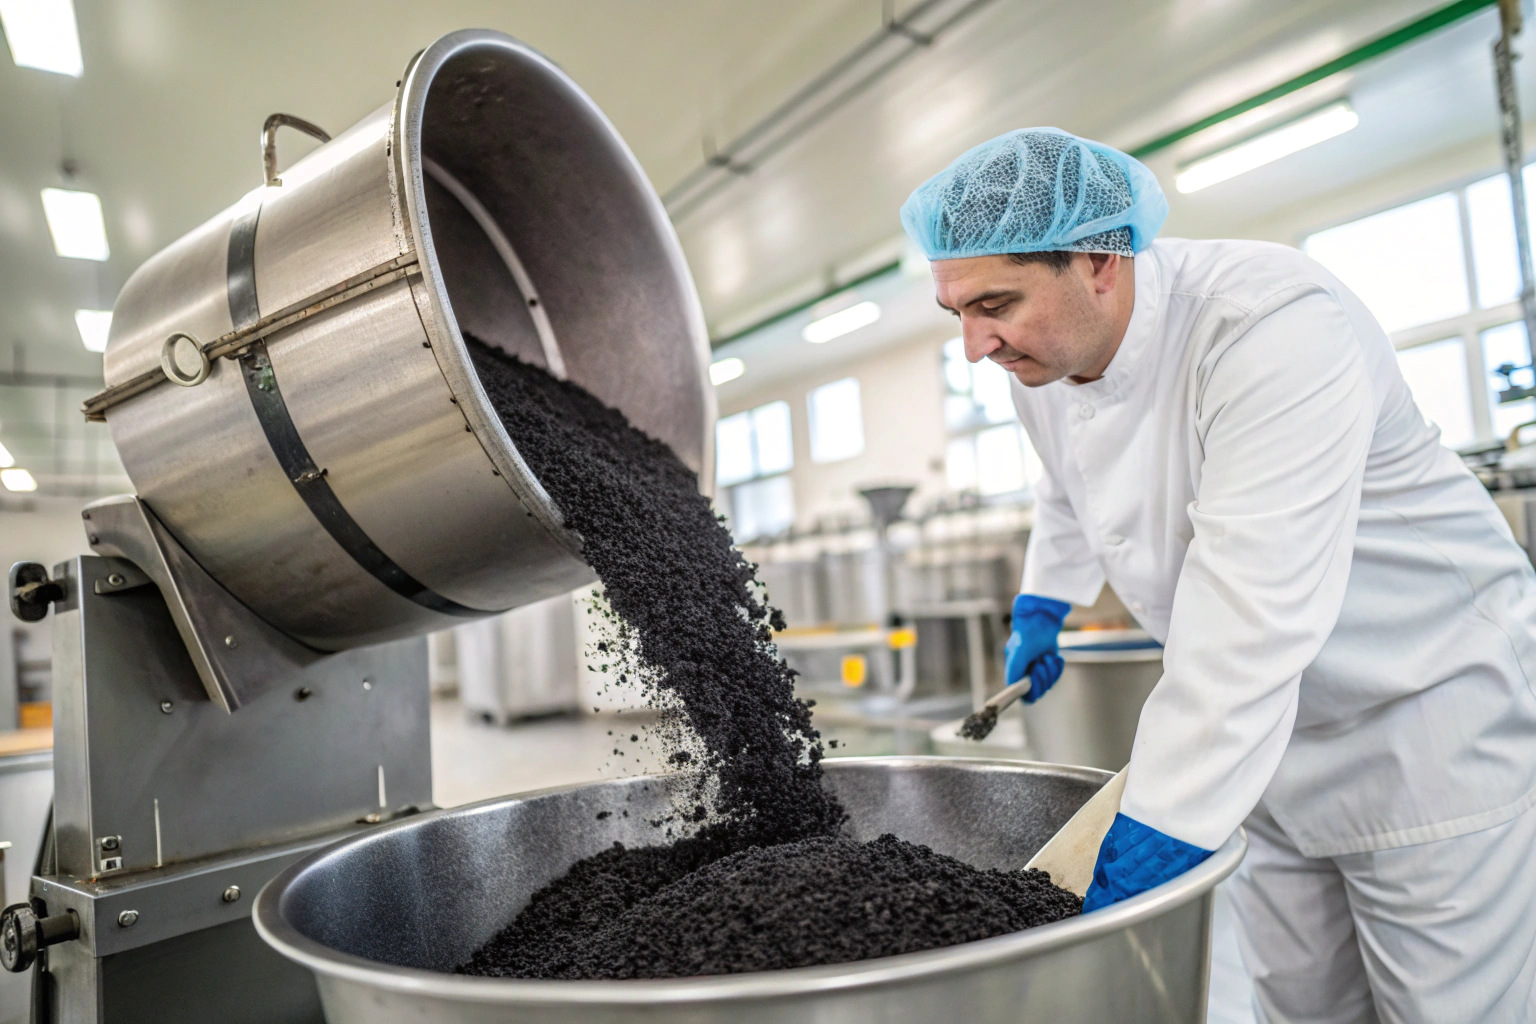
Vegetable carbon black delivers a rich, natural charcoal hue, but stable color demands strict control of particle size, pH, processing, packaging, and shelf-life testing—five practical levers any food manufacturer can fine-tune today to keep products jet-black from factory line to consumer bite.
Let’s brew a coffee, roll up our sleeves, and walk through my five field-tested tips.
1. Why Does Particle Size Matter for Color Stability?
Big or small—carbon particles behave differently in every matrix.
Select a particle size that balances dispersion and opacity: 1–5 µm grades give smooth, uniform blacks in doughs and fillings, while coarser 10 µm powders suit dry seasonings but can settle or look speckled in liquids. Always match grade to application and document consistency.
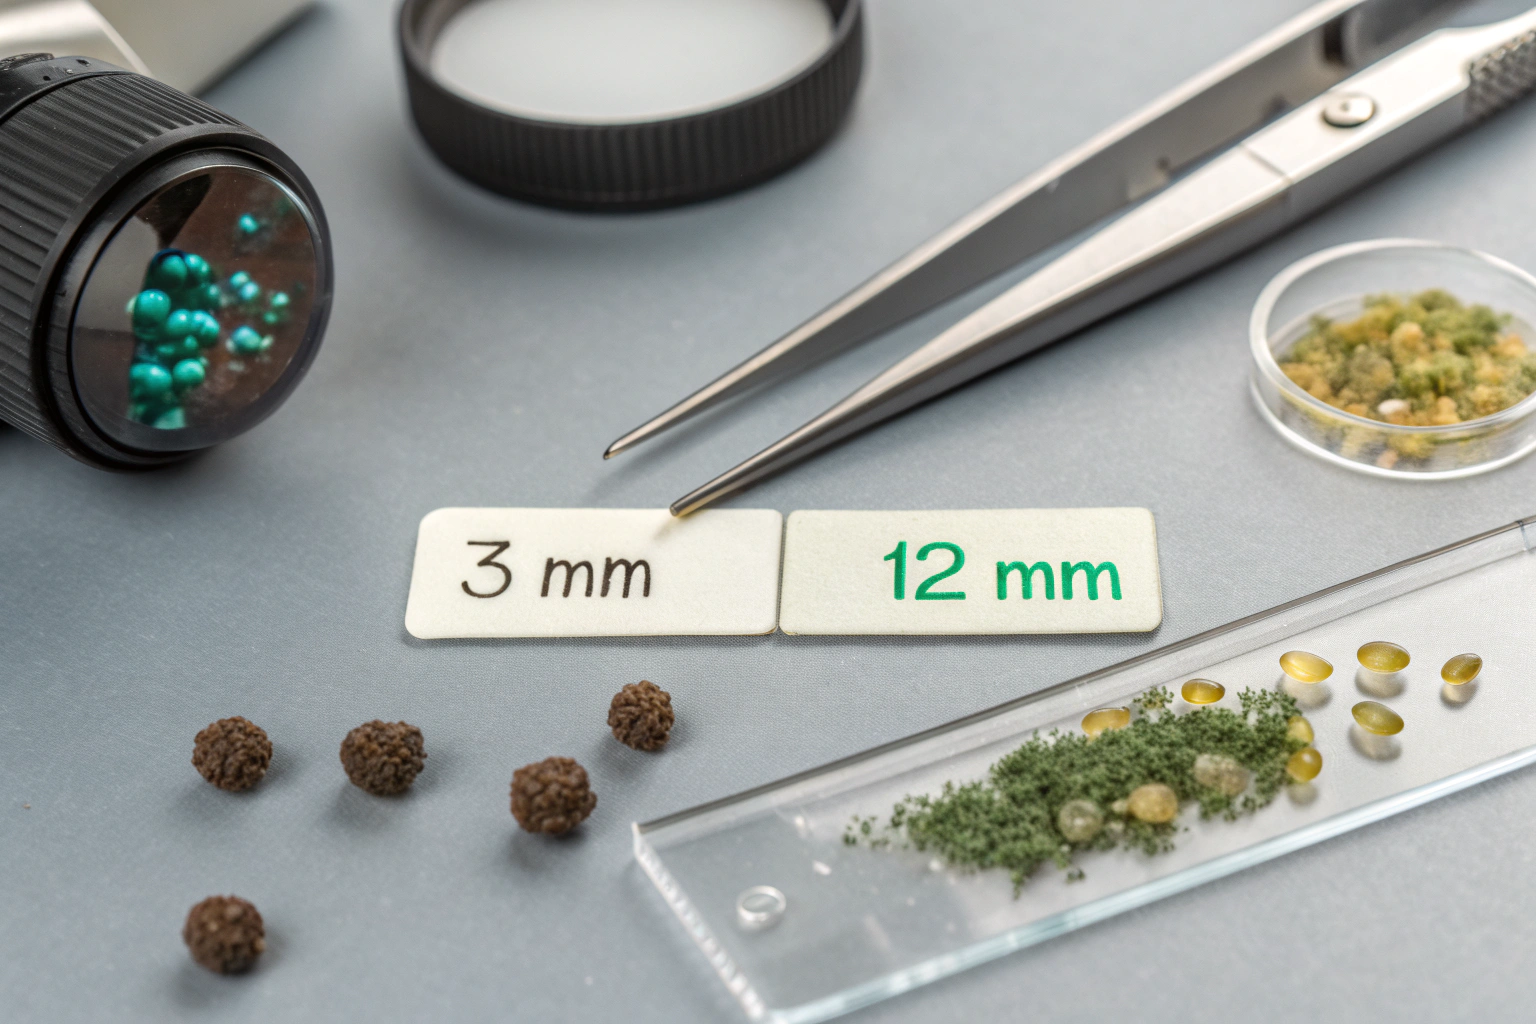
A few years back, I trialed the same vegetable carbon in macarons and spice rubs. The macarons—expected velvet black—showed pepper-like dots because we’d used a 12 µm grade. Lesson learned: particle size drives not only shade depth but also texture, mouthfeel, and shelf appeal.
Getting Technical—But Not Painful
Smaller particles mean a larger surface area, which scatters less light and creates a deeper shade at lower dosages. Yet that giant surface loves to adsorb moisture and oil:
| Particle Grade | Typical Use-Rate | Best Matrix | Potential Issue |
|---|---|---|---|
| 1–3 µm | 0.05–0.3 % | Batters, fillings, icings | Hygroscopic—watch water activity |
| 4–6 µm | 0.1–0.5 % | Bread, pasta | Even texture, easy scaling |
| 8–12 µm | 0.3–1 % | Dry rubs, crackers | Speckling in wet doughs |
Practical Steps I Take
- Sieve incoming lots with a 200-mesh screen; any clogged mesh means oversize clumps.
- Blend carbon with 10 % of total sugar before adding to the main mix—no more hotspots.
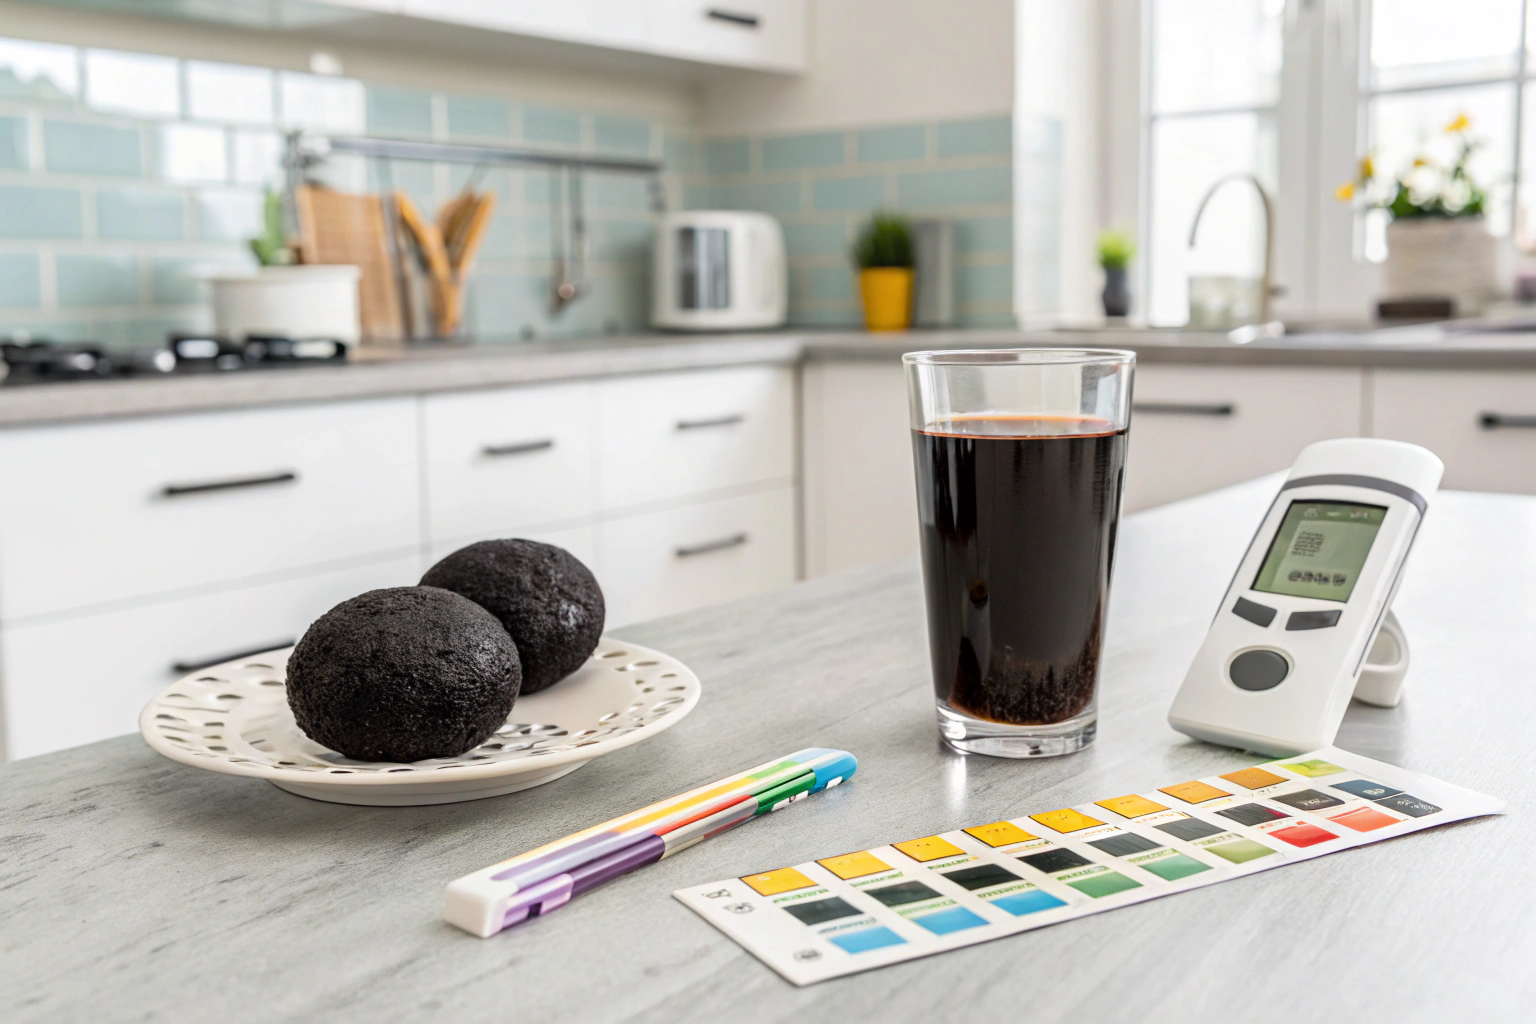
- Keep a handheld colorimeter1 nearby; I record L* values versus particle size2 in one big spreadsheet. Over time, that data tells me when to switch suppliers or grades.
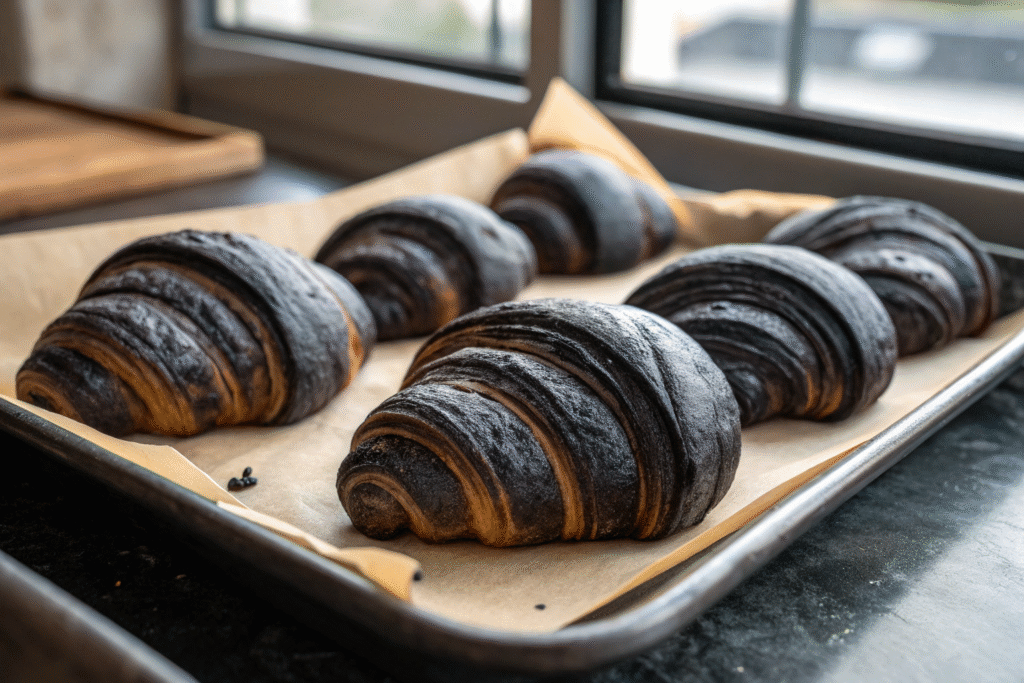
And yes, a quick plug: the 4–6 µm grade on our vegetable carbon black page nails burger buns every single time.
2. How Can I Control pH to Prevent Fading?
Acid defeats more colors than my teenagers defeat snacks.
Vegetable carbon is remarkably pH-stable, yet extreme alkalinity (pH >10) can dull blacks and acid dips below pH 3 can cause unexpected sedimentation. Aim for pH 4–9, buffer recipes, and verify finished pH post-processing to lock in shade.
Early in my career, a trendy “black lemonade” campaign went sideways when bottles settled into murky layers on store shelves. Root cause? Final pH 2.8, far lower than our bench samples. Ever since, I’ve kept a pH meter tethered to my apron like a lucky charm.
Simple pH Guardrails
- Beverages : Use citrate buffers; keep final pH ≥ 3.4—above that, carbon stays suspended longer.
- Bakery : If using alkaline cocoa, account for a slight pH lift and adjust yeast food accordingly.
- Sauces : Post-pasteurization pH checks catch acid drift from fermentation.
| Matrix | Safe pH Window | Buffer Options | Checkpoints |
|---|---|---|---|
| Drinks | 3.4–4.2 | Sodium citrate, malate | End of blend, after 24 h |
| Doughs | 5.5–6.5 | Mono-cal phosphate | Pre-proof and post-bake |
| Sauces | 4.0–5.0 | Citrate + phosphates | Cool-down stage |
Remember: carbon itself doesn’t shift pH, but your other ingredients love to. A buffer costs cents; a recall costs careers.
3. What Processing Steps Minimize Pigment Loss?
Heat, shear, and time—our frenemies in the factory.
High shear can fracture agglomerates and deepen color, but prolonged mixing or over-bake may oxidize organic residues on carbon, yielding a grey cast. Optimize mixing speed, add pigment mid-batch, and keep bake or fry temperatures under 200 °C to maintain an even, intense black.
I once watched an operator crank the ribbon blender to “11” for a full hour—beautiful dispersion, sure, but the final crackers turned charcoal grey instead of pitch black. Excess mechanical energy boosted oxidation: chemistry class all over again.
My Go-To Processing Playbook
- Staging: Add carbon after fat has coated dry solids—better wet-out.
- Mixing Speed: 30 rpm in planetary mixers works; double speed only if batch is <10 kg.
- Thermal Exposure: Keep dwell time in a 220 °C oven under 7 min.
- Fry Oil Cycling: Filter often; spent oil oxidizes pigment quickly.
Mini-Case: Charcoal Tortilla Chips
Switching the add-point from pre-to post-hydration cut pigment loss by 18 %. A minor SOP tweak—major visual gain.
4. Which Packaging Choices Protect the Shade?
Even perfect color fades if the bag fails its job.
Vegetable carbon resists light better than carotenoids, yet oxygen and moisture can still grey out a black surface. Use high-barrier films (<1 cc O₂/m²/24 h), add nitrogen flushing for snacks, and select matte inks to prevent light bounce that highlights tiny color shifts.
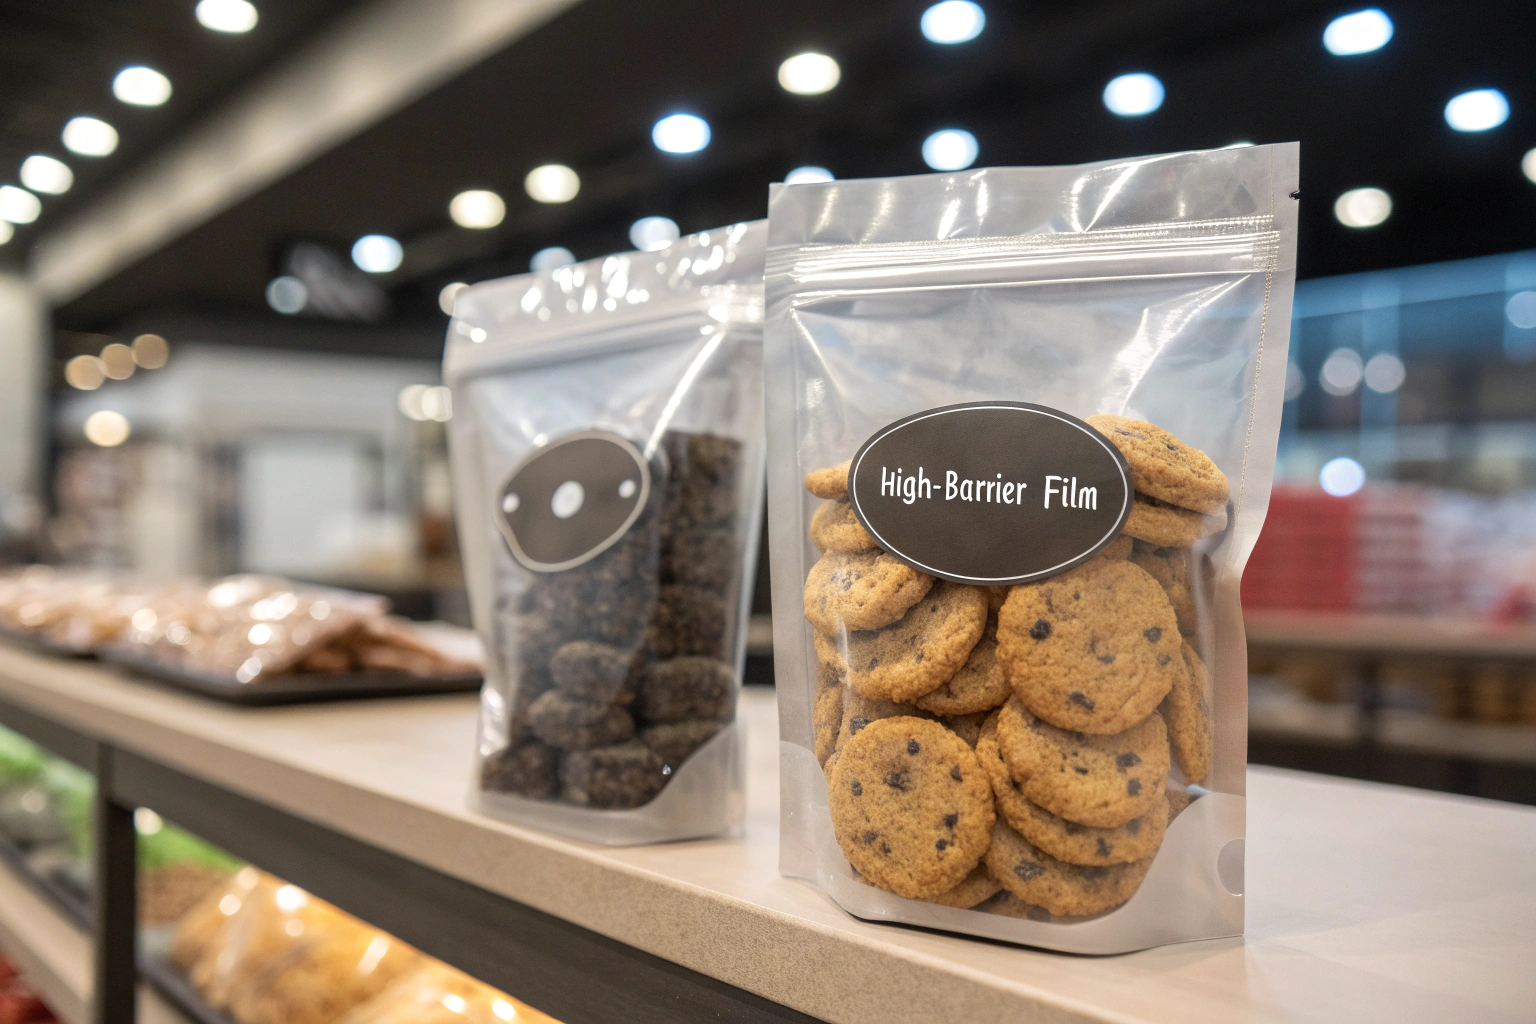
In a supermarket shelf test, my glossy stand-up pouch looked slick—until bright store LEDs revealed micro-cracks in the film. Two weeks later, cookies inside were more asphalt grey than sleek black.
Packaging Checklist I Swear By
- Barrier Film: EVOH-layered PET or metallized PE—oxygen under 1 ppm by 90 days.
- Headspace Gas: 95 % nitrogen retards moisture and rancidity in fat-rich snacks.
- Light Shield: Matte finish plus UV absorber lacquer (cut UVA by 99 %).
- Desiccants: 1–2 g silica gel per 100 g product keeps Aw below 0.5.
| Variable | Target Value | Monitoring Tool | Typical Cost per Unit |
|---|---|---|---|
| O₂ Level | < 1 ppm | OxySense spot | $0.01 |
| Moisture | Aw < 0.50 | Water activity meter | $0.005 |
| UV Block | > 99 % UVA | UV spectrophotometer | $0.002 |
Bonus tip: Print the ingredient list in white on black—looks sleek and hides minor shade drift.
5. When Should I Re-Test Color During Shelf Life?
Trust, but verify—my QC mantra.
Color drift sneaks in after 30 days in high-fat or high-moisture foods; schedule L* or ΔE readings at production, mid-life, and end-life points, adjusting formulation if ΔE exceeds 3 units. A digital traceability log speeds root-cause analysis and audit defense.
I keep a “color calendar.” Every Monday, we pull week-old, month-old, and shelf-life-limit samples from storage. We scan each with a handheld colorimeter; if ΔE between new and aged samples jumps above 3, the batch goes on hold until we know why.
Building a Sensible Color-Check Program
- Sampling Rate: One finished-goods case per batch.
- Storage Conditions: Duplicate real-world extremes—25 °C/60 % RH and 35 °C/80 % RH.
- Metrics: Record L*, a*, b* and calculate ΔE00 versus fresh control.
- Triggers: ΔE > 2 = investigate; ΔE > 3 = corrective action.
| Time Point | Expected ΔE | Common Drift Source | Quick Fix |
|---|---|---|---|
| 0 days | 0 | — | — |
| 30 days | ≤ 1.5 | Oxygen ingress | Check seal integrity |
| 60 days | ≤ 2.5 | Lipid oxidation | Switch to nitrogen flush |
| 90 days | ≤ 3.0 | Moisture migration | Add desiccant |
Remember, numbers are friends: without hard data, “I think it’s fine” can become “We’re issuing a recall” overnight.
Conclusion
Control these five levers, and your vegetable-carbon creations stay midnight-black—no surprises, no regrets.